
Skip to main content
Create & Manage Project Tasks
Add tasks to a project, assign users, set priorities, and track progress — with drag-and-drop movement across task stages for real-time workflow visibility.
🔐 Access Control
- Only Admin users or staff with task permissions can create and manage tasks
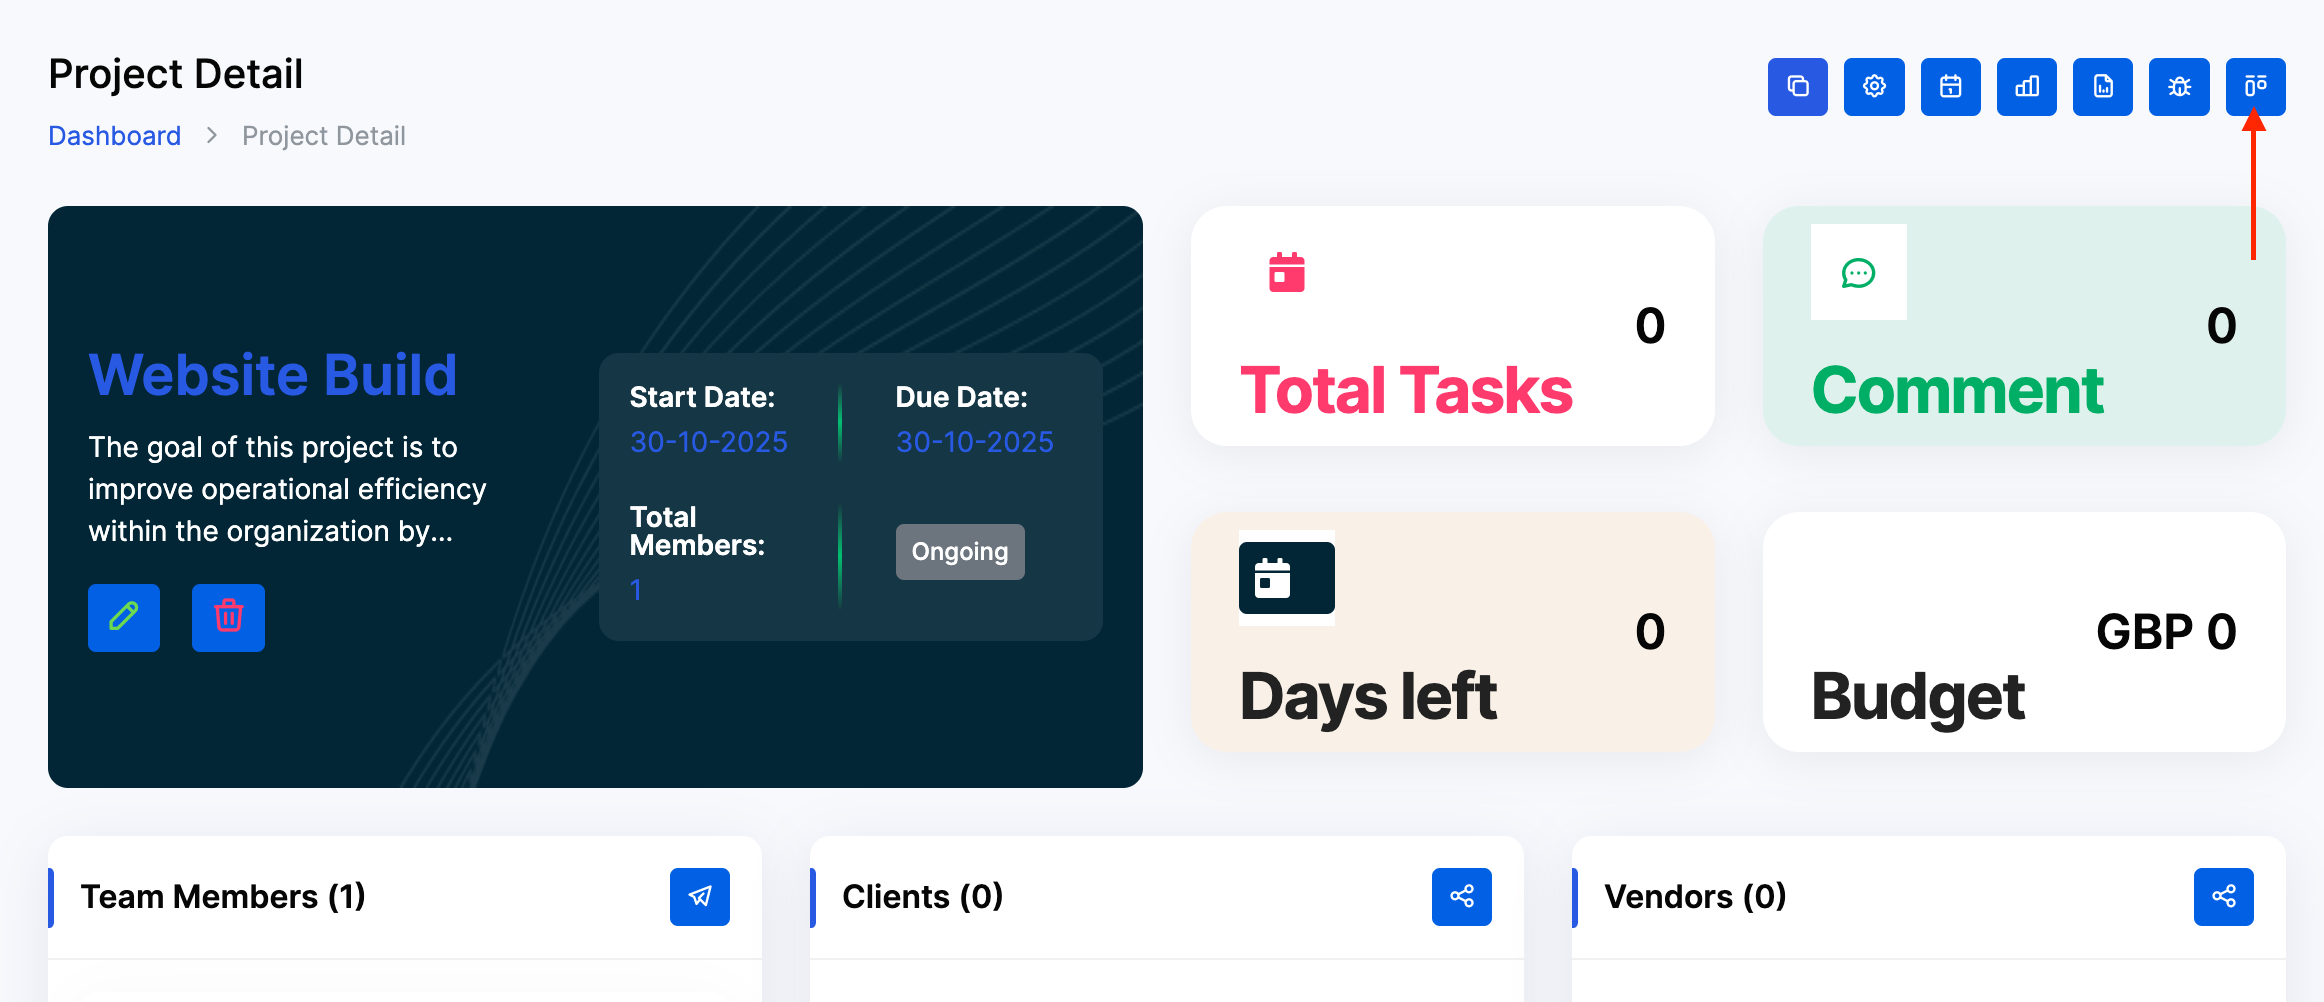
- From the Dashboard, use the side menu to navigate: Projects → Project → Select Project → Task Board
🧭 Step-by-Step: Create a Task
Click the + icon in any task stage column (Todo, In Progress, Review, etc.)

1️⃣ Fill in Task Details
- Project*: Select the relevant project (e.g.
Website Launch) - Milestone: (Optional) Link to a milestone for tracking
- Title*: Enter a clear task name (e.g.
Design Homepage,Client Review) - Priority: Choose
Low,Medium, orHigh - Assign To: Select one or more team members
- Duration*: Set start and end date/time
- Description*: Add task context, deliverables, or dependencies
Click Create to add the task to the board.
📦 Task Board Overview
Tasks appear as cards under stage columns:
- Todo: Tasks not yet started
- In Progress: Tasks actively being worked on
- Review: Tasks pending approval or QA
- Done (if configured): Completed tasks
Each card displays:
- Priority label
- Task title
- Milestone name
- Due date
- Progress indicator (e.g.
0/10) - Team member count
🔄 Move Tasks Between Stages
To update task status:
- Click and drag the task card to another stage column
- The system will automatically update the task’s status
- Use this to reflect real-time progress and unblock workflows
✅ Best Practices
- Use clear, action-oriented titles (e.g.
Send Invoice,QA Review) - Assign tasks during creation to avoid delays
- Link tasks to milestones for billing or delivery tracking
- Use priority labels to guide urgency
- Review task board daily to monitor progress and reassign if needed
- Keep stage names consistent with your operational workflow (
Todo,In Progress,Review,Done)