
Skip to main content
Create an Invoice
Generate and send invoices to clients or vendors — with full control over items, taxes, payment terms, and audit visibility.
🔐 Access Control
- Only Admin users or staff with invoice permissions can create invoices
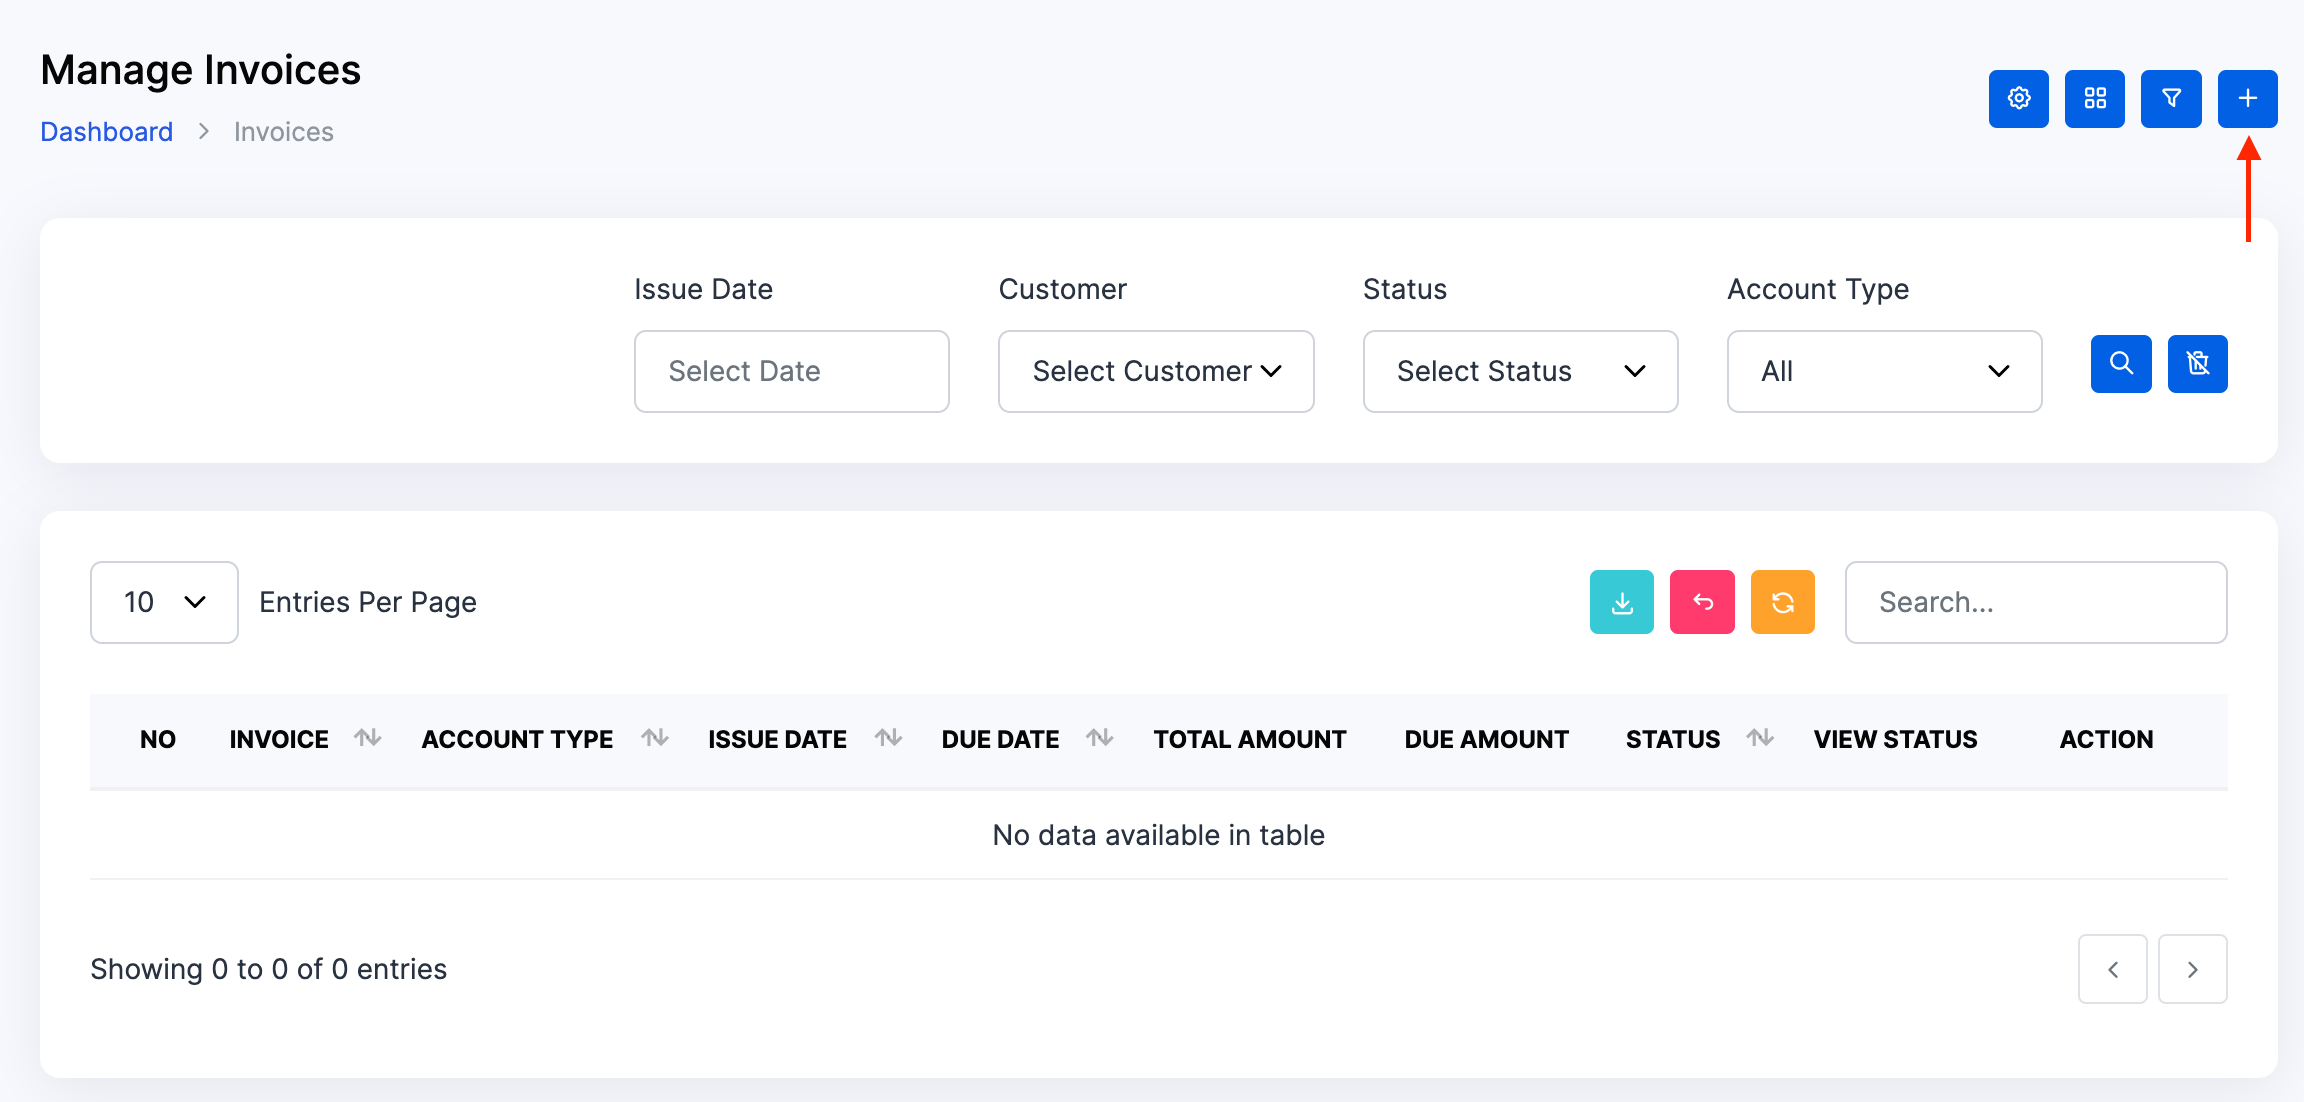
- From the Dashboard, go to Invoice → Plus Icon
🧭 Step-by-Step Invoice Creation
1️⃣ Account Type (Required)
- Choose between Accounting or Projects
- This selection defines how the invoice is tracked and reported
- ⚠️ You cannot change the account type after creation
2️⃣ Billing Type (Auto-selected)
- If Accounting is selected → Billing Type will be Item Wise
- If Projects is selected → Billing Type will be Project Wise
- This field is auto-set and cannot be manually changed
3️⃣ Customer / Client
- Select the recipient from your CRM list
- If not listed, click Create Customer/Client to add them first
4️⃣ Template
- Choose a visual layout for the invoice
- Templates affect branding, logo placement, and field visibility
5️⃣ Dates
- Issue Date: Defaults to today, but can be backdated
- Due Date: Set based on payment terms (e.g. Net 7, Net 30)
6️⃣ Category
- Select a revenue category (e.g.
Consulting,Cleaning,Logistics) - Categories must be pre-created in Accounting Setup
7️⃣ Invoice Number
- Auto-generated (e.g.
#INV00001) - Can be manually edited if permitted by settings
🧩 Adding Items
Click + Add Item to open the item entry form.
For each line item:
- Item Type: Choose
Product,Service, orPart - Item: Select from your item list (must be pre-created)
- Quantity: Enter the number of units
- Unit: Auto-filled from item setup
- Price: Auto-filled or manually adjusted
- Discount: Optional per line
- Tax (%): Select applicable tax rate
- Description: Optional notes for clarity
The system will auto-calculate:
- Subtotal
- Total Discount
- Total Tax
- Total Amount
📤 Final Steps
- Click Create to generate the invoice
- The invoice will be saved in Draft status
- You can edit, review, or send the invoice from the draft view
- Once finalised, use the Send button to email the invoice or share via client portal
- Optionally enable payment integrations (e.g. Stripe, PayPal) for instant settlement
✅ Best Practices
- Ensure all items, categories, and taxes are pre-configured
- Use consistent invoice numbering for audit clarity
- Include payment terms and late fee logic in the template or notes
- Review overdue invoices weekly
- Use sector-fit item descriptions (e.g.
Cleaning Visit,Freight Charge,Care Package) - Link invoices to CRM or Project records for traceability
- Always review draft invoices before sending — especially for tax, due date, and item accuracy